Hello everyone concerned about this. Lasse has made a huge effort to furnish us with loads of information now. Three cheers for Lasse. Hold on to your hats.
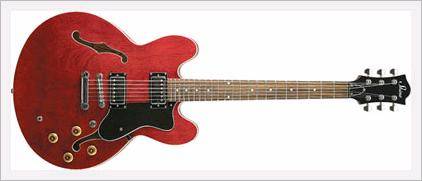
Here are processing of HB-450 Plus, you can see all details with photos:
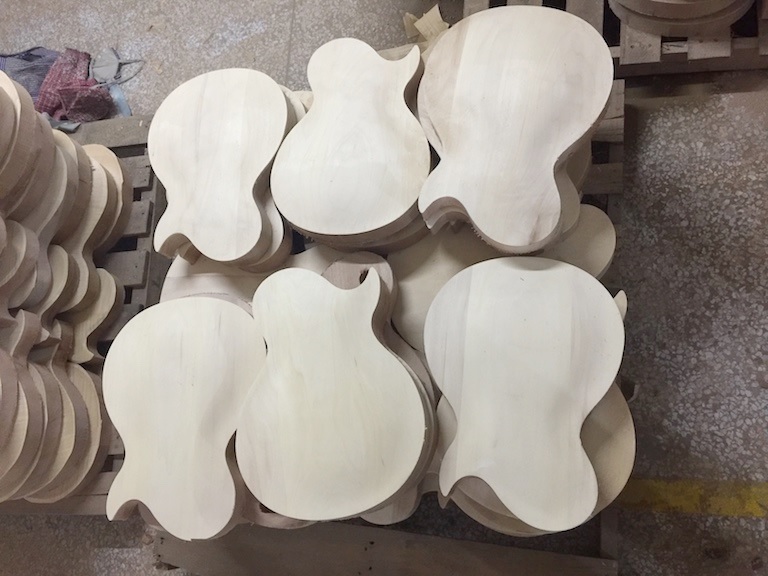
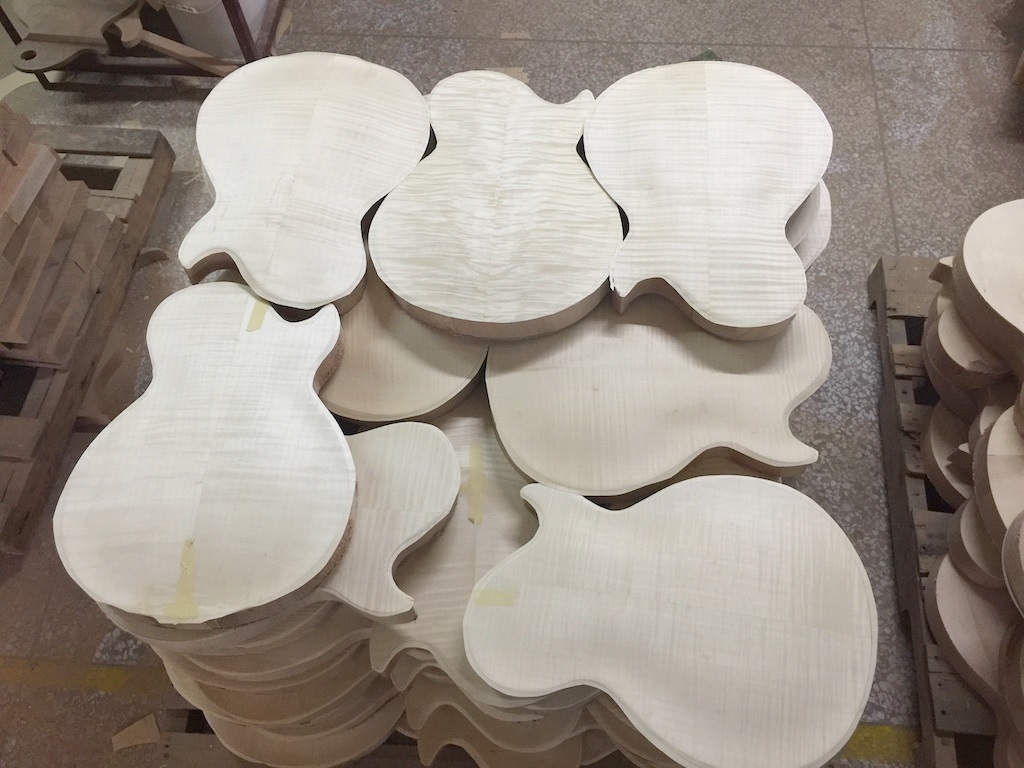
1: First, we will glue the wood together. Photo below is wood body after NC shaping.
You can see the plain maple cap on the mahogany body very clearly. No plastic for
sure. After rough sanding, they are ready for flamed veneer attaching.
2:
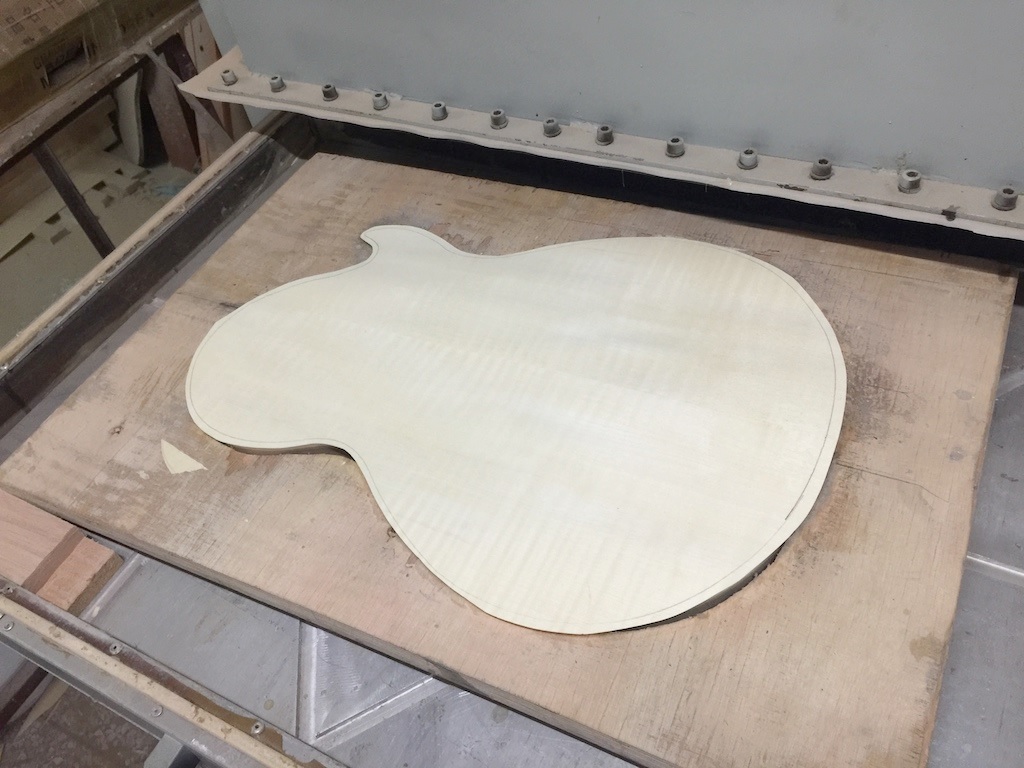
The next step is to attach flamed veneer on top of the maple cap. The flamed
veneers we use now are all between 3A to 5A, it is much better quality than before
for sure.
3:
As you can see, all veneer is pre-cut in the shape of the body. We put the pre-cut
veneer on the top of the body. We push the working plate into the heating chamber. And the heating head will
come down and press on the body. After several minutes, the veneer will attach onto
the body well under heating and pressure. Then we will take it out.
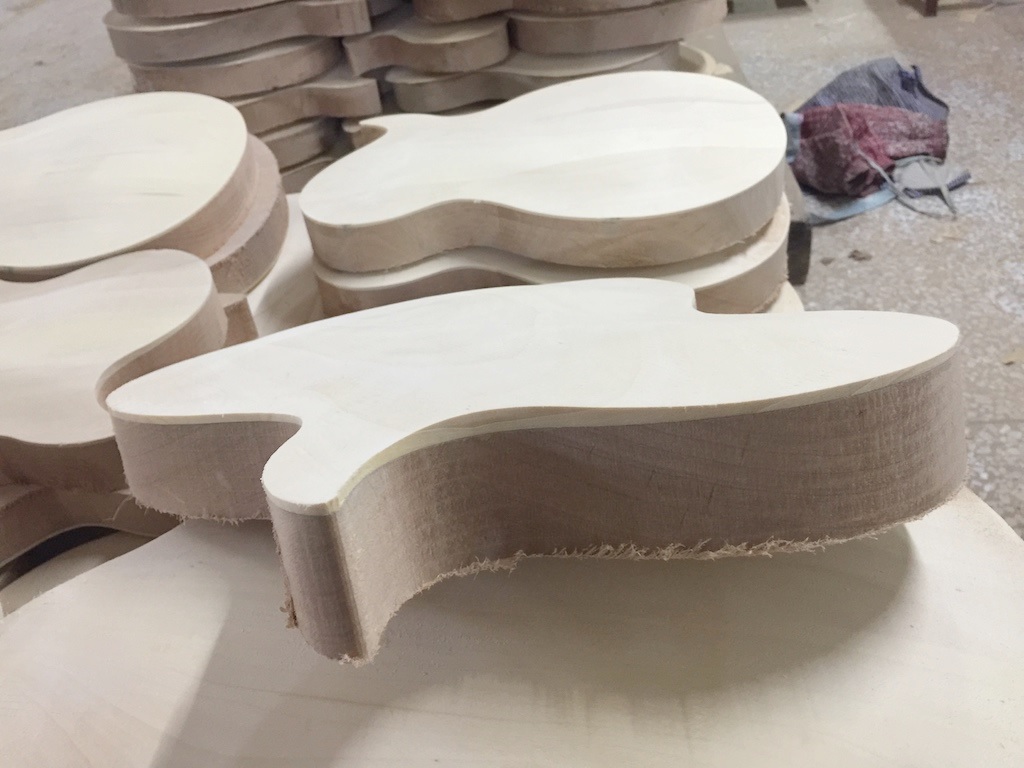
4 &5:
Here are photos of the bodies which, after pressing, the veneers are pressed on the
bodies very well. You can see the veneer, maple cap and mahogany very clearly.

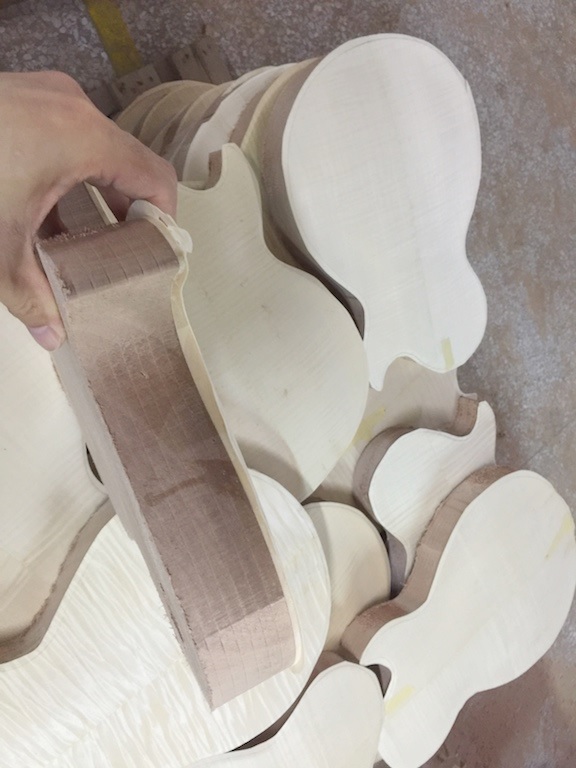
6:
There are 3 layers, flamed veneer, maple cap, and mahogany body. They are all real
wood, not plastic.
7:
Here are photos after cutting the edge of veneer, you can see 3 layer more clearly
before binding and after binding.
Before Binding.
8:
After binding.
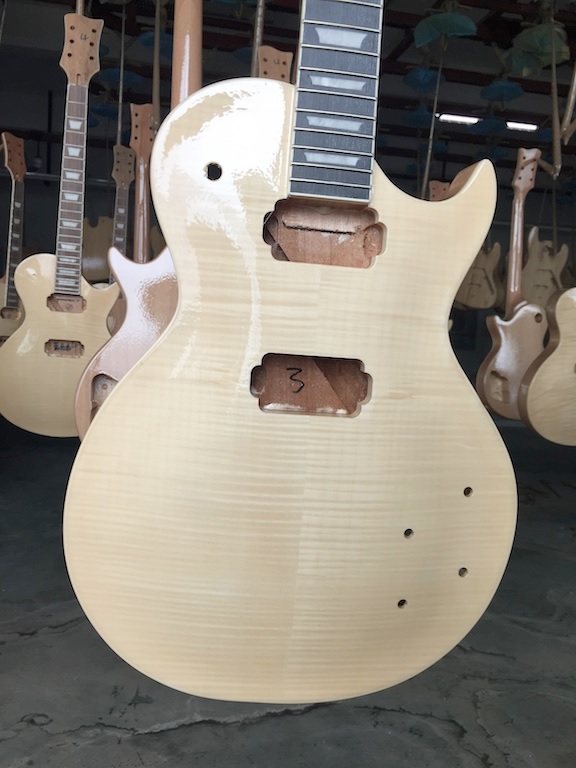
9:
Normally, we apply 5 layers primer and 4 layers lacquer on each guitar to make sure
it looks shining and glossy enough. The total thickness of the painting is over 1mm.
And paint what we use on HB-450 Plus is PE (polyethylene).
Here are photo after primer.
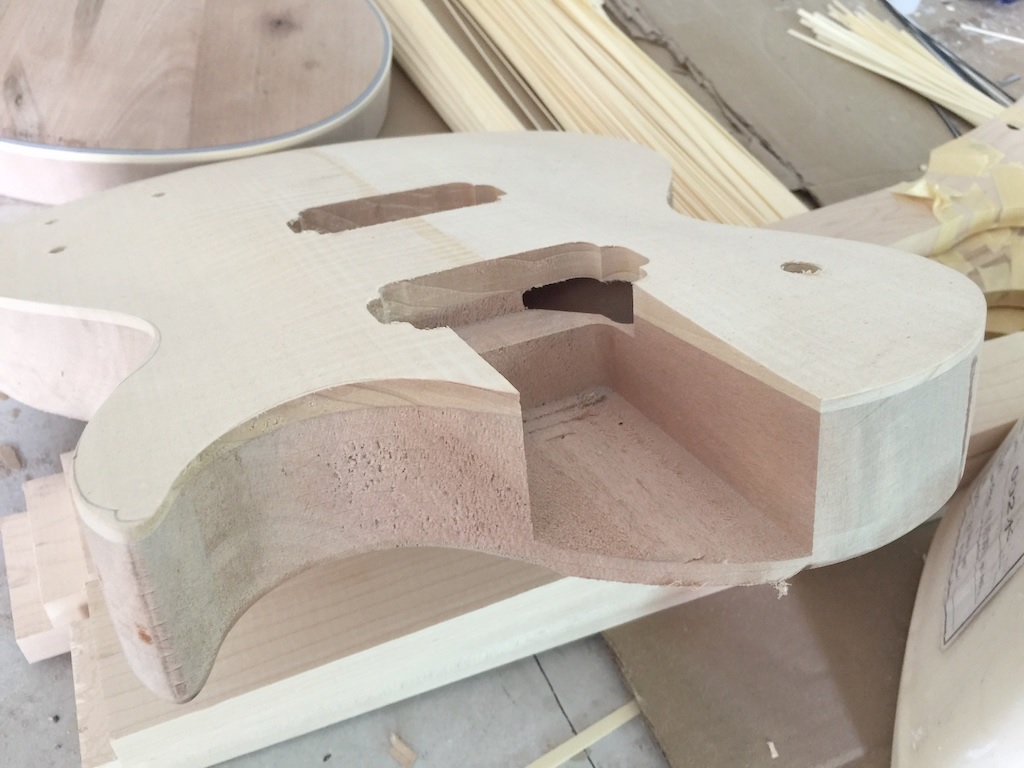
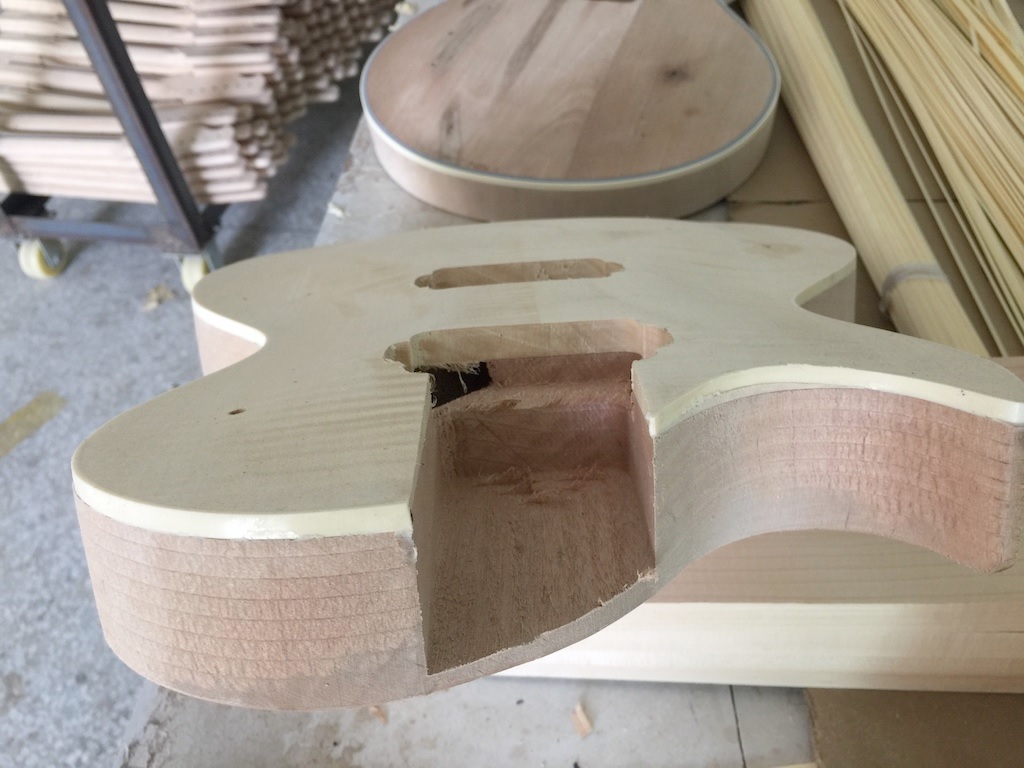
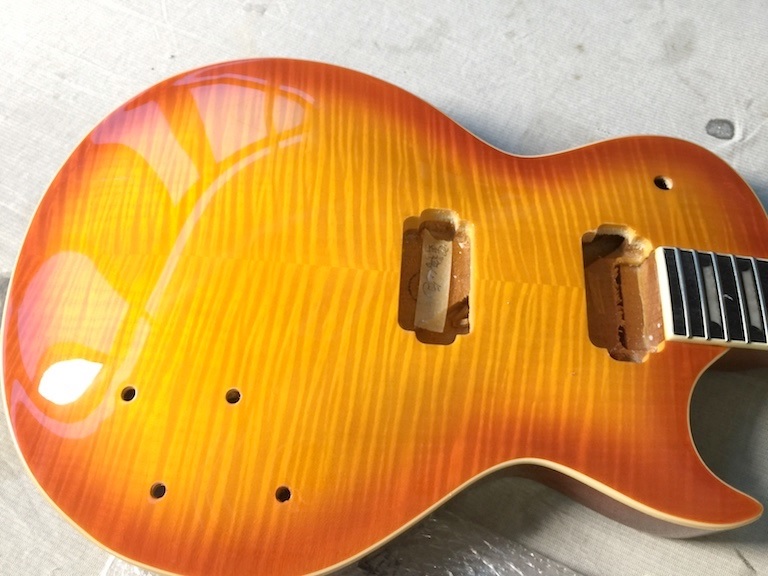
10:
After final lacquer it looks very glossy. And the thickness of total paint over 1mm. You can tell from the pickup cavity.
I think that puts THAT one to bed. How can we thank Lasse enough? A little song?